Thursday, January 24, 2013

1/24/13: More Speaker Stuff & 6L6 Tube Protector


1-24-13: 
     More 
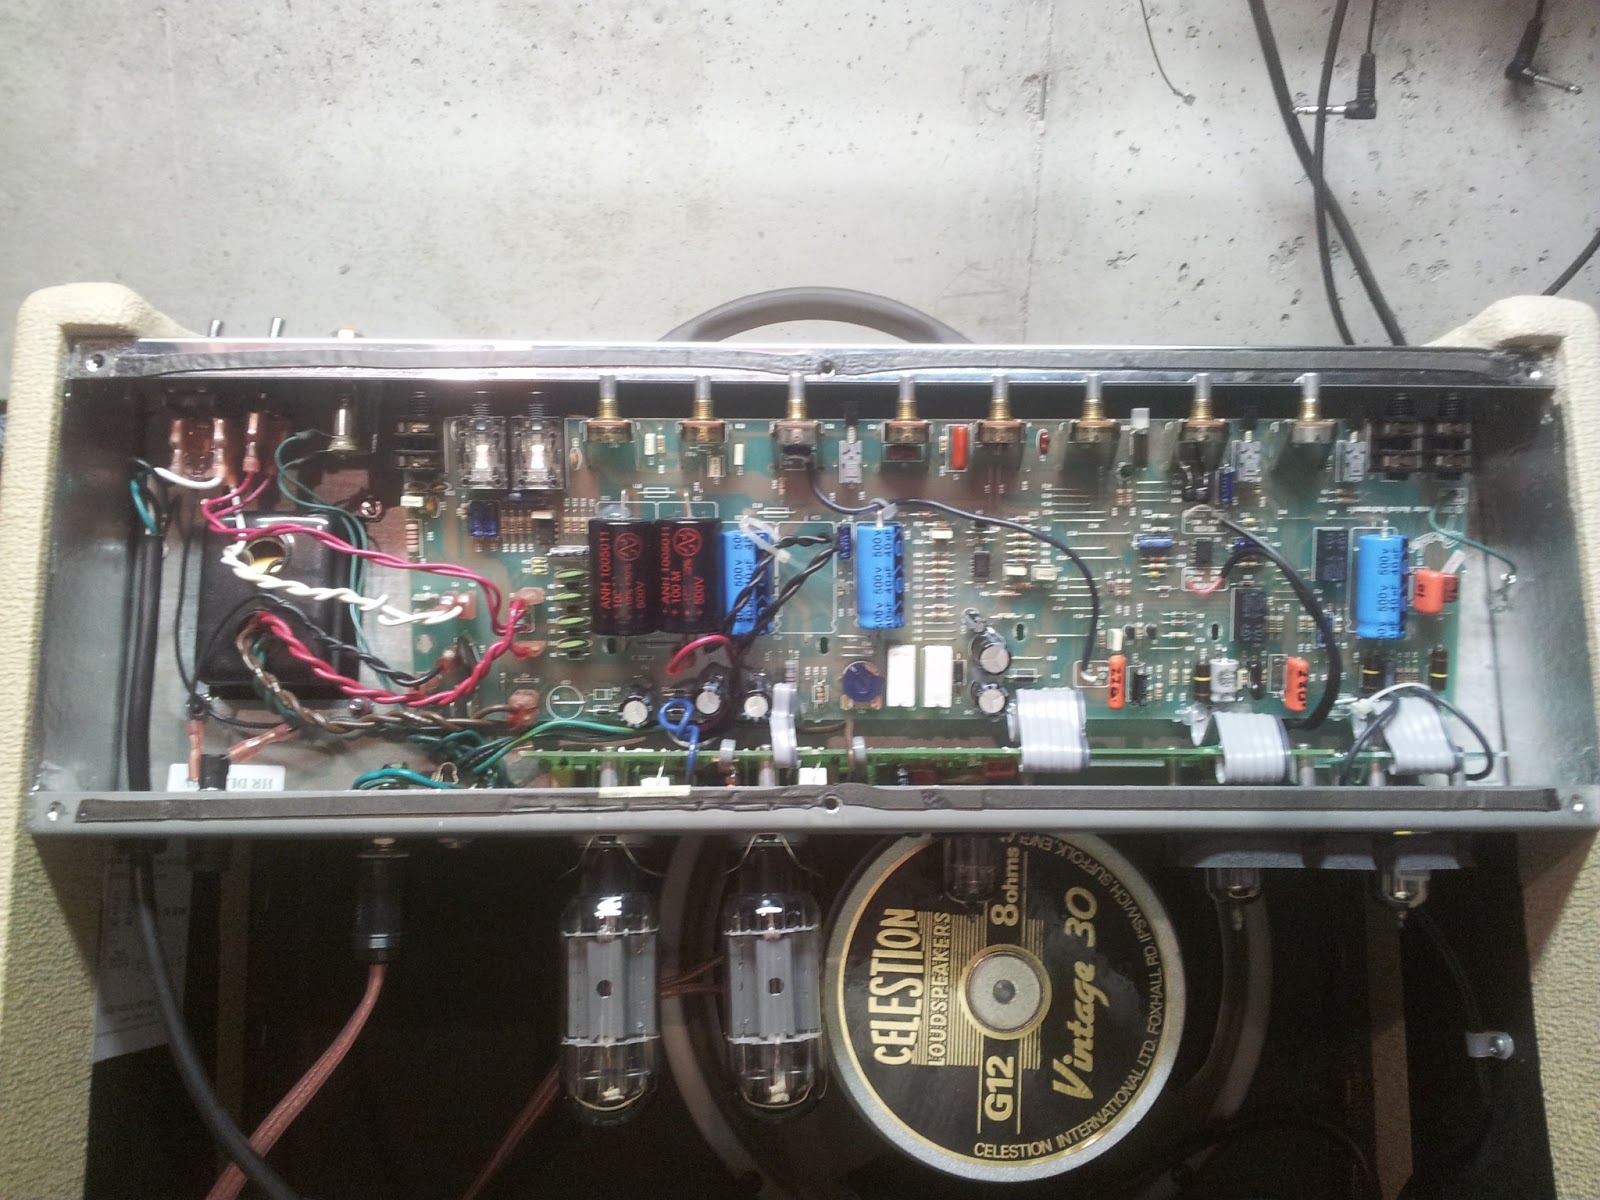
Speaker Stuff: You'll note in the picture on my first post that my amp has this big 5" circle of colored sticky-back foam right across the middle of the speaker area. I forgot to mention that this is to counteract the "beam" effect of the Celestion Vintage 30 speaker. When I was playing a gig last year, another guitarist I know came by, and after helping check our overall band sound for us, told me this during our next break. He said that when he was off to either side of the stage, my guitar sounded fine, but when he walked across the front of the stage, as he passed my amp, it had a particular "ice pick" beaming effect, directly in front of my amp. Once he got a few feet off to either side, it was fine. He said "You must be using a "Vintage 30". I said yes, and he said "Yeah, they're beamy like that". So, when I looked into the "Beam Blocker" things you can buy, I didn't want to pull my speaker back out of the cabinet to install one. I did some reading, and found that Stevie Ray Vaughan used to put duct tape on his speaker cabinets with Vintage 30's, in the shape of an "X" over the center cone area. I wanted to do something just a little more "Classier" than that, so I came up with the sticky-back foam sheet stuff, in a 5" circle. I experimented with 3" & 4" circles, but couldn't decide if all of the "beamyness" was gone yet. I decided on a 5" circle. I knew for certain with the 5" circle, I'd gotten rid of all of the "beamyness". The initial problem was the sticky-back stuff didn't really have the staying power necessary to keep it in place. I used some 3/4" wide x 1/16" thick foam double-stick tape. I cut about 4 - 3" pieces, and used some scissors to cut slits (most of the way across) about every 1/2" apart. Then I took the piece of tape, and bent it around the outer 5" circle of foam sheet, sort of like fanning out the piece of tape at all of the slits. I removed the other tape backing material when all of the tape pieces were in place. Then I centered the foam sheet circle over the speaker cone, and gently pressed it into place, going around the outer edge of the circle. I probably stuck one 1" square piece right in the middle of the foam, to help hold it in place better.
     It has stayed in place well, and that same friend has heard us play at other gigs since that first time, and he said my guitar rig sounds great anywhere in the room where we're playing. Also, I have our band name on the front. A shameless plug: www.DeltaFusionBand.com . We play local clubs in the Loveland & Ft. Collins, CO area, as well as the northern Denver area.


6L6 Tube Protector: One thing I liked on the later Fender HRD amps was the 6L6 Tube Protector cage that was now included on the back cover of the amp. The reason I like this feature is because when gigging, I always us an external speaker cabinet. Reaching under the back cover with a heavy metal ¼” plug, I've banged that plug up against the side of the 6L6 power tube. I've never broken one (yet), but I've come close a couple of times when in a hurry, and I’m packin’ up after a gig, and I try to pull that plug out quickly (but carefully), and I hear it hit the tube.
     I made a protector cage out of ½” hardware grid wire as shown below. The dimensions are 4 1/2" W x 4" H x 2 " D. There is an extra 1/2" tab at the top of the mounting side, to help pinch the cage between the chassis edge and the back cover. I attached the cage to the back cover using some gray thin foam double-stick tape, which has worked our well. Since the back cover spends most of its life screwed to the back of the amp, the cage isn't going to fall or slip out of place.


Wednesday, January 23, 2013

Fender Hot Rod Deluxe and Deluxe III Basics


1-23-13-The Fender HRD Basic Mods

In my previous post, I stated that I'd give you the "Basic" mods I've done, that don't include any circuitry modifications.
1) Change the Speaker: A lot of the amp's "Tone" is a result of the speaker. So, you can change the overall tone by changing the speaker. You can get books on preferred 12" guitar speakers for various amps. My personal preference is the Celestion Vintage 30, a 60 Watt, 8 ohm, 12” speaker. My playing style is geared towards Classic Rock, and I've found I like this speaker best. As with many Mods or changes, subjective personal preference will rule. You may have to do some web searching & reading to find the speaker you think is right for you, and you’re playing style. I know other guys that prefer the Celestion G12T-75 speaker.
NOTE: Changing the speaker requires removing the amplifier chassis from the cabinet. Not for the faint of heart. You have to loosen the six screws holding the chassis in place about 1/4", and then insert the spreader tool. I created a tool that spreads the chassis apart about 1/8", to help the chassis lift out without tearing up the grounding foil around the inside of the cabinet. Once the cabinet is spread with the tool, carefully remove the six screws, starting with the lowest on the sides, and holding onto the chassis carefully so that it doesn't drop into the cabinet on the speaker. The speaker magnets can attract that chassis, so hold on tight, and keep it as far away from the speaker as possible as you lift it out of the cabinet. It will be awkward because of the uneven weight of the transformers mounted on the chassis.

2) Change the speaker Cable: Most all amps and speaker cabinets come prewired with 18 gauge wire. This is great for a table lamp, but if you want to get ALL of the low frequency transferred from the amplifiers output to the speaker itself, you want to use 16, 14, or even 12 gauge cable. I bought a box of crimp on 12 gauge spade connectors, and a spool of 12 gauge, oxygen-free cable, and I make new speaker cables for almost any amp, or speaker cabinet I buy. I also have heavy-duty ¼” jacks that I use on the amplifier end of the cable. In my case, I made the cable long enough, so that if I ever want to use just the speaker in my Fender HRD, I can unplug it from the amp in the back of the cabinet, extend the cable to another amp beside, on top, or below my cabinet. (~3-4 feet).

3) Different Tubes: You can change your tone with different tubes. I like the JJ/Tesla 6L6 power tubes (V4 & V5), biased to ~67mA. (65 – 70MA).
-V1 is the first preamp tube, and will have the most effect on tone.
-V2, middle small tube. I installed a good JJ 12DW7 - this tube is a 12AX7 on one side and a 12AU7 on the other side. The 12AU7 side is the side of the tube that handles the Drive/More Drive sections. The Drive/More Drive channels are definitely more pleasing and usable over the stock amp. That tube helps tame some of the horrible gain increase when switching from the Clean channel to Drive/More Drive, also.
-V3 is the Phase Inverter (PI), to the 6L6 output tubes.

My Tubes:
I am currently using the following tubes, and I’m happy with the tone & the overall performance of the amp for gigging. I hand-picked each of the three small tubes, and this was the combination that worked best for me:

-V1 = Groove Tube 12AX7; -V2 = JJ  12DW7; -V3 = Mullard  12AX7A; -V4 & V5 = JJ  6L6.

4) Redress Wire Harness: You’ll also notice in the pic below, that I redressed the wire harness from the power transformer and the output transformer. This is something pretty standard that all of the custom mod shops do when you send your amp in for custom mod upgrades.

Wire Harness as Shipped from Factory

Monday, January 21, 2013

Welcome: Creation & First Blog

Hi All,     This is my first post and experiment with blogs. This is my favorite MIM Fender HRD Frankenstein test bed, and I DO gig with this guy!


 There are some basic mods that I started with after purchasing the amp new. I'll state the basic mods in my next post.